It appears that cruise control is a standard feature in many cars right off the assembly line. Unfortunately, my car was an exception. Undeterred, I embarked on a quest to install it myself.
It’s quite amusing how car manufacturers operate. Typically, they produce a standard vehicle and then strip away features to create various packages or extras. Essentially, if you purchase a base model car, it’s like getting the fully-loaded version with all the extras removed. The good news? You can often retrofit these features later on.
Take the cruise control option, for instance. Dealerships might charge around $1500 for this feature, but I’ll guide you through adding it yourself for just $53.
To do this, your car must be equipped with a throttle-by-wire system. This means that your accelerator pedal isn’t mechanically connected to your engine’s throttle valve. Instead, the pedal’s position is read by the ECU, which then adjusts the throttle accordingly, functioning like a digital throttle.
Tools
Here’s the tools you need.
- Hex Sockets.
- Philips screwdriver
Parts
For the following mod you will need 2 key components, I got them from eBay:
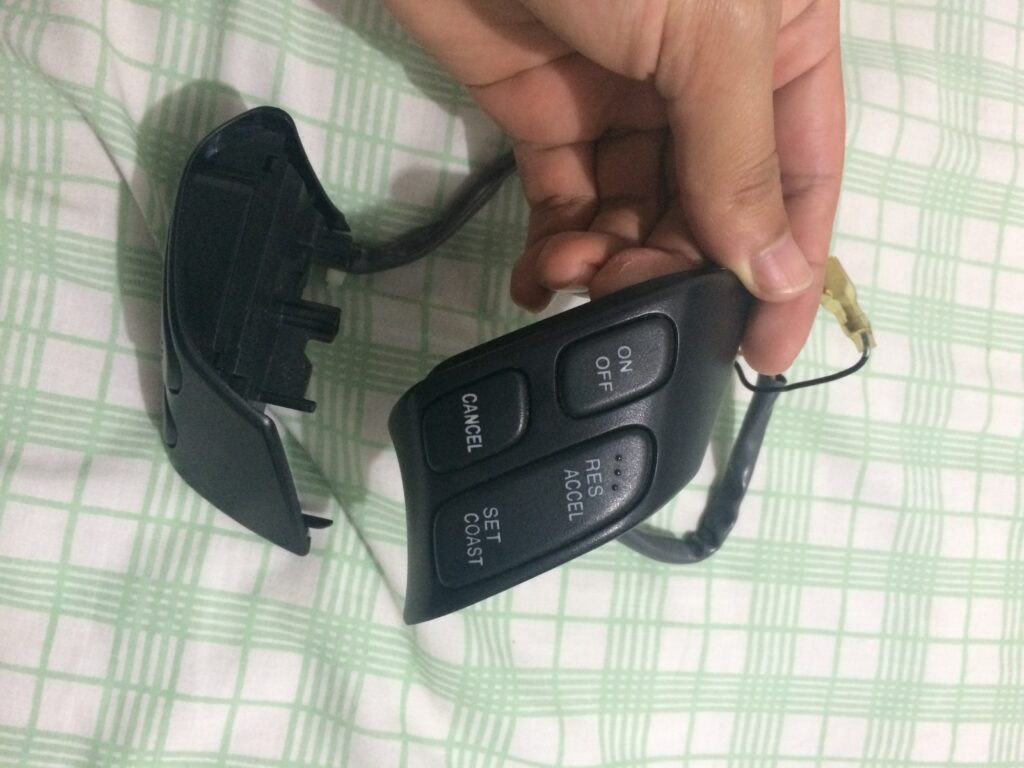
- Steering wheel buttons with Cruise Control $35 on ebay
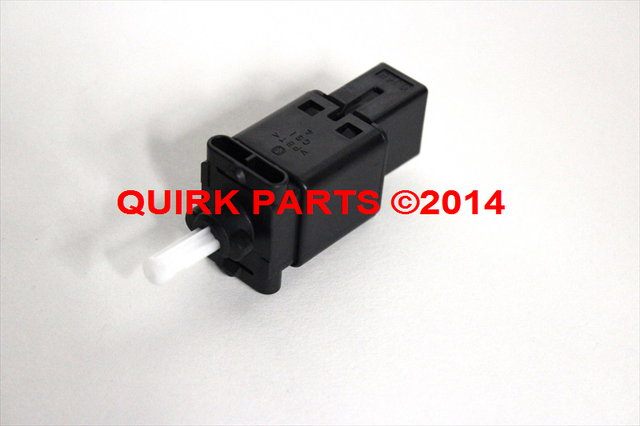
- The brake switch GJ6E-66-490, available for $18 on eBay, is a crucial component as it houses two separate switches: one for activating the brake lights (Normally Open, NO) and another for deactivating the cruise control upon braking (Normally Closed, NC).
- Noise filter G22C-66-990B 66-990A (Optional, you can make the changes yourself)
Disclaimer
Modifying your vehicle involves handling the airbag system in the steering wheel, which is hazardous. It is imperative to take all necessary precautions when dealing with it. Please be aware that I cannot be held liable for any damage or accidental deployment. Proceed with this modification at your own risk.
Process
The procedure is straightforward. First, ensure your car is turned off and parked with the wheels straight. Next, disconnect the battery and press the brakes several times to expel any residual current from the system. For safety, let the car sit for 30 minutes; this step is crucial to prevent accidental airbag deployment.
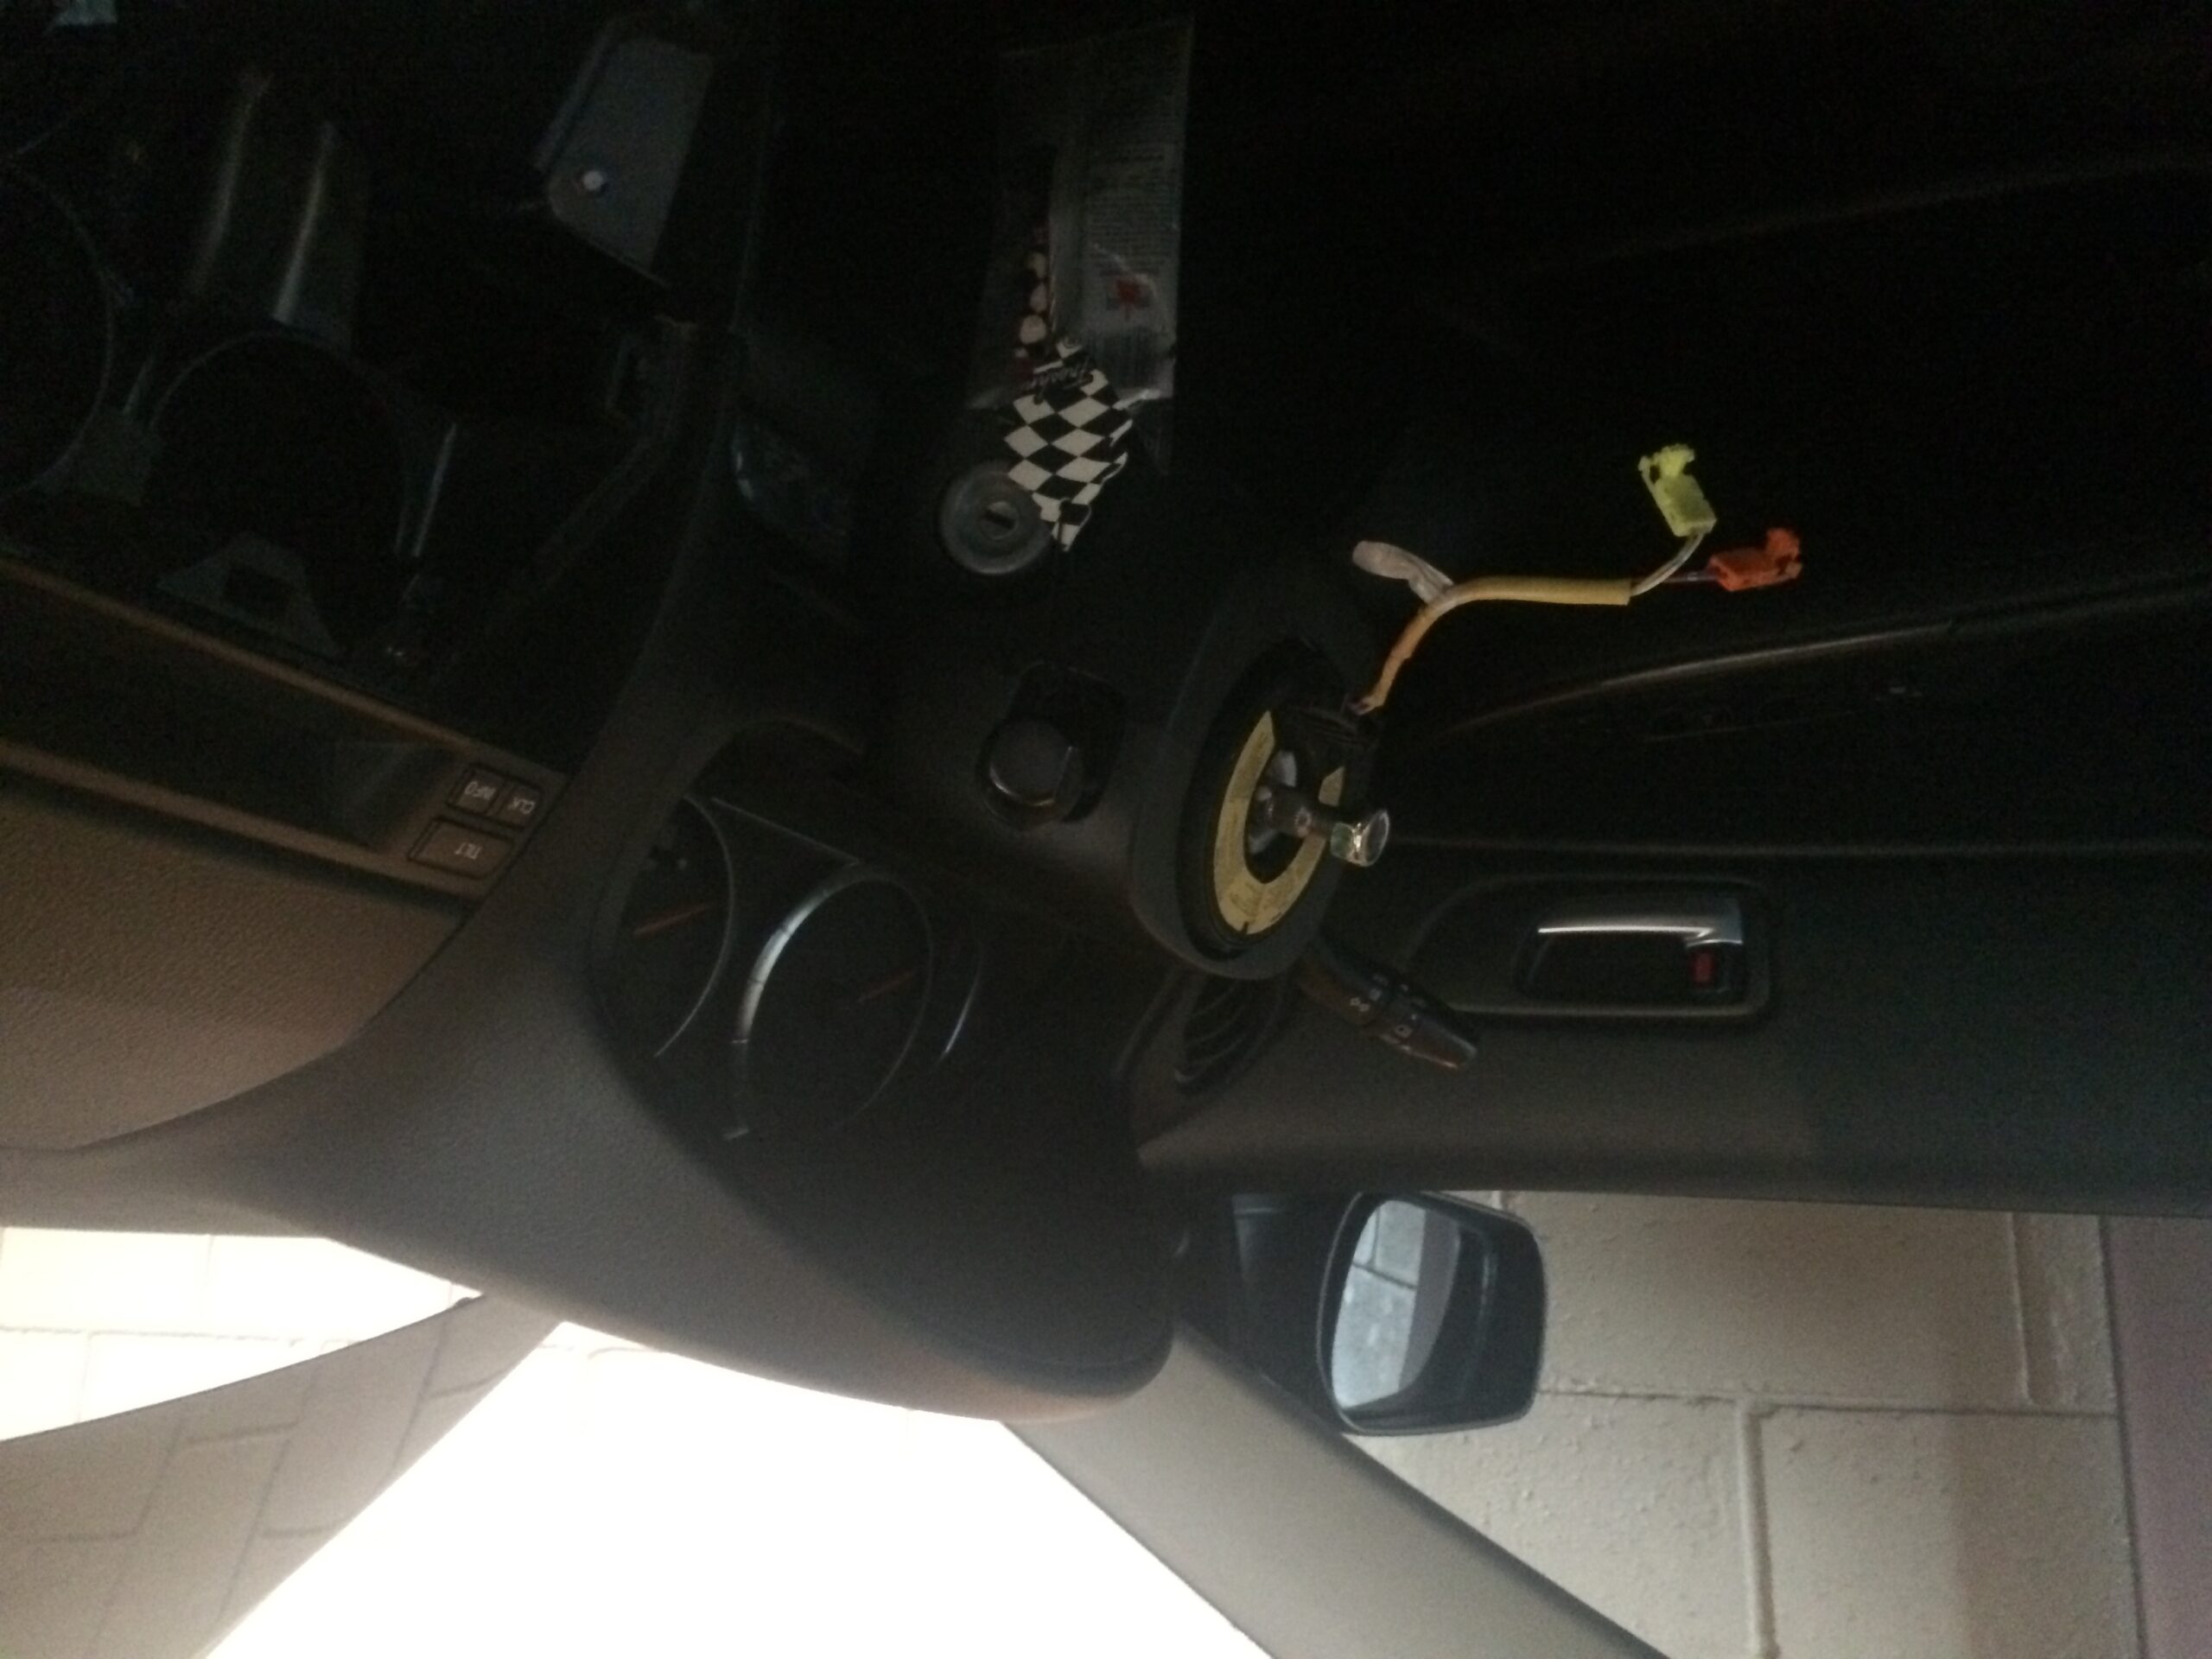
To remove the steering wheel, start by taking out the two screws on each side. This will enable you to safely detach the airbag. Once removed, place the airbag face up in a secure location away from your workspace.
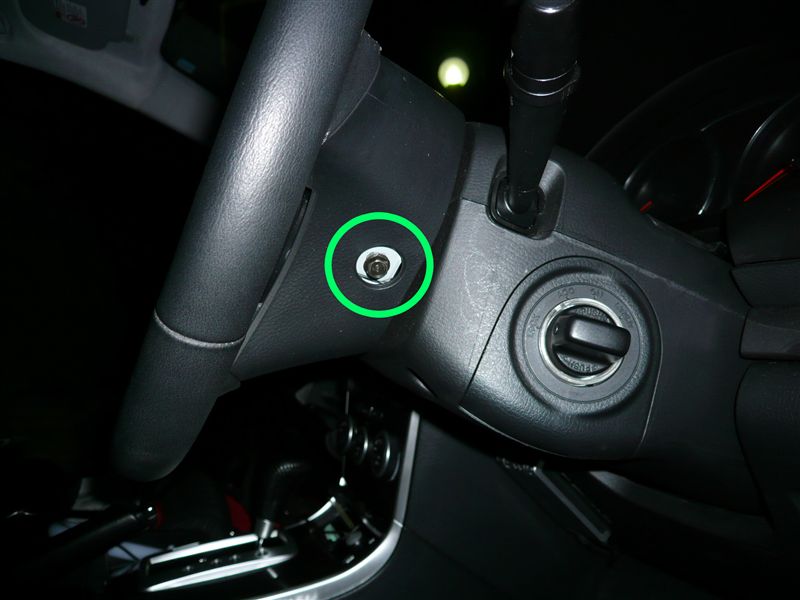
There will be a big nut attaching the steering wheel to the steering column (Circled in Yellow), make some marks with some permanent marker so that you can leave it the same way it was before. Try not to move the steering wheel from the marks ( circled in red)

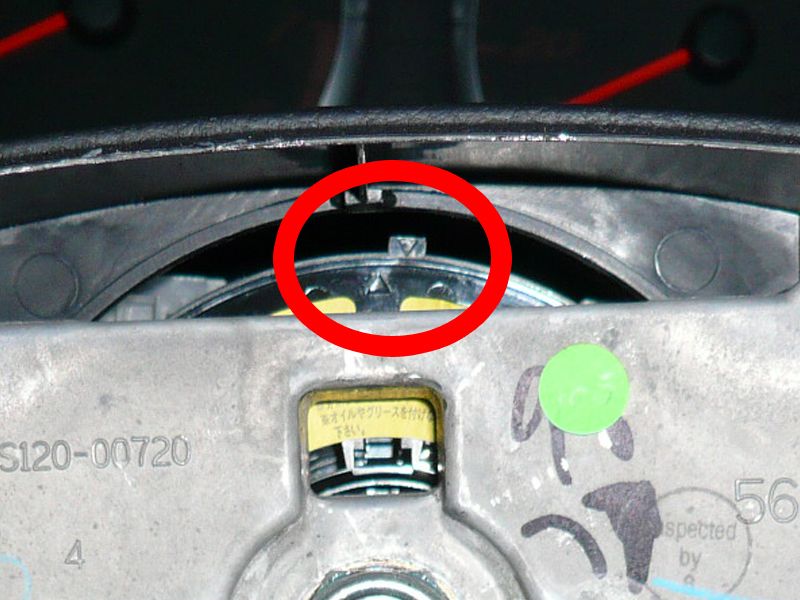
Loose the nut but don’t remove it completely, you will need to pull the steering wheel towards you with fair amount of strength, the nut will stop the steering wheel from hitting you in the face. 😛
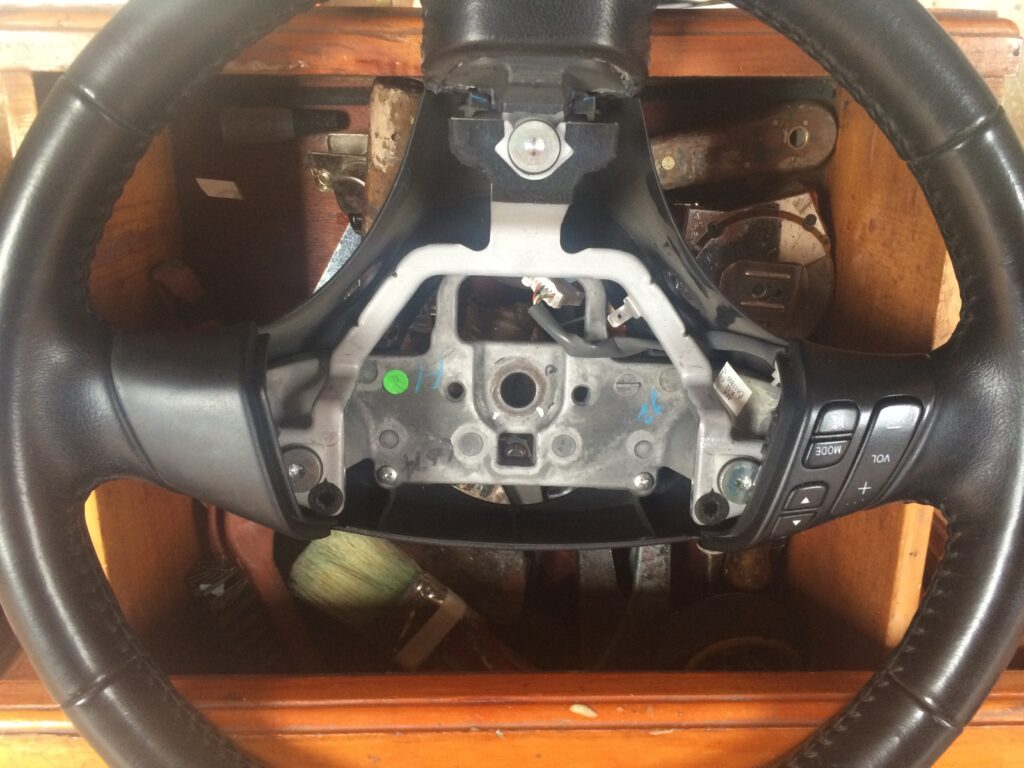
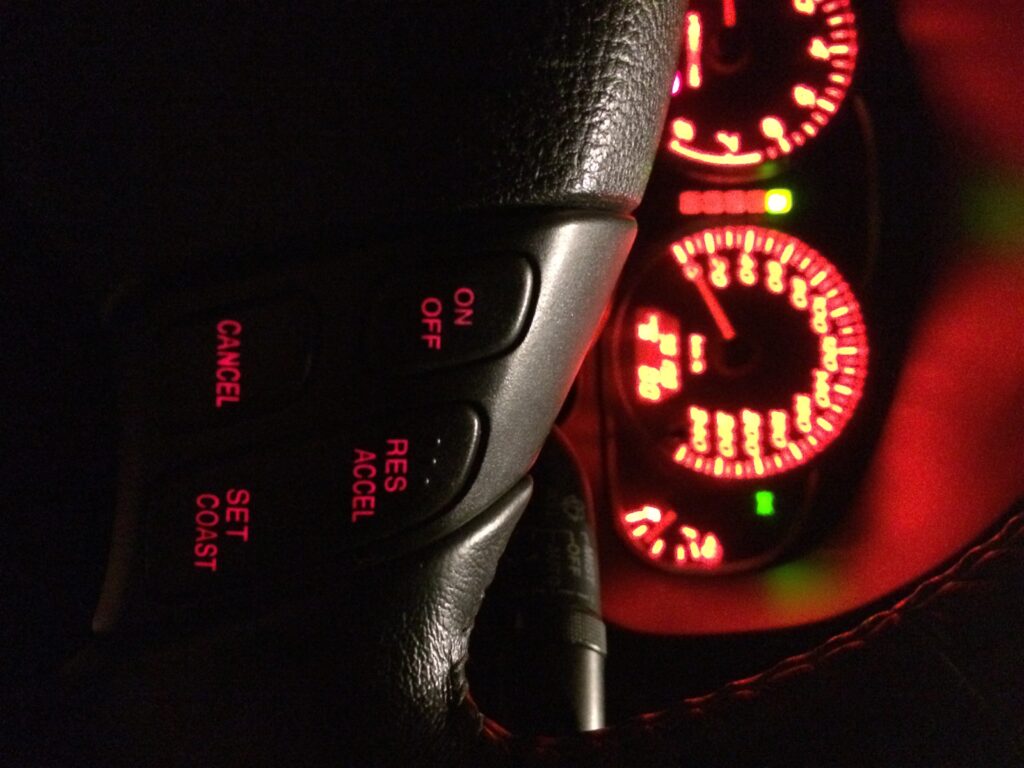
Once removed you want start removing the existing steering wheel controls, they are attached using some screws to the back of the steering wheel, that’s why you had to remove it first. Notice the blank section at the right?, we will put the cruise control buttons there.
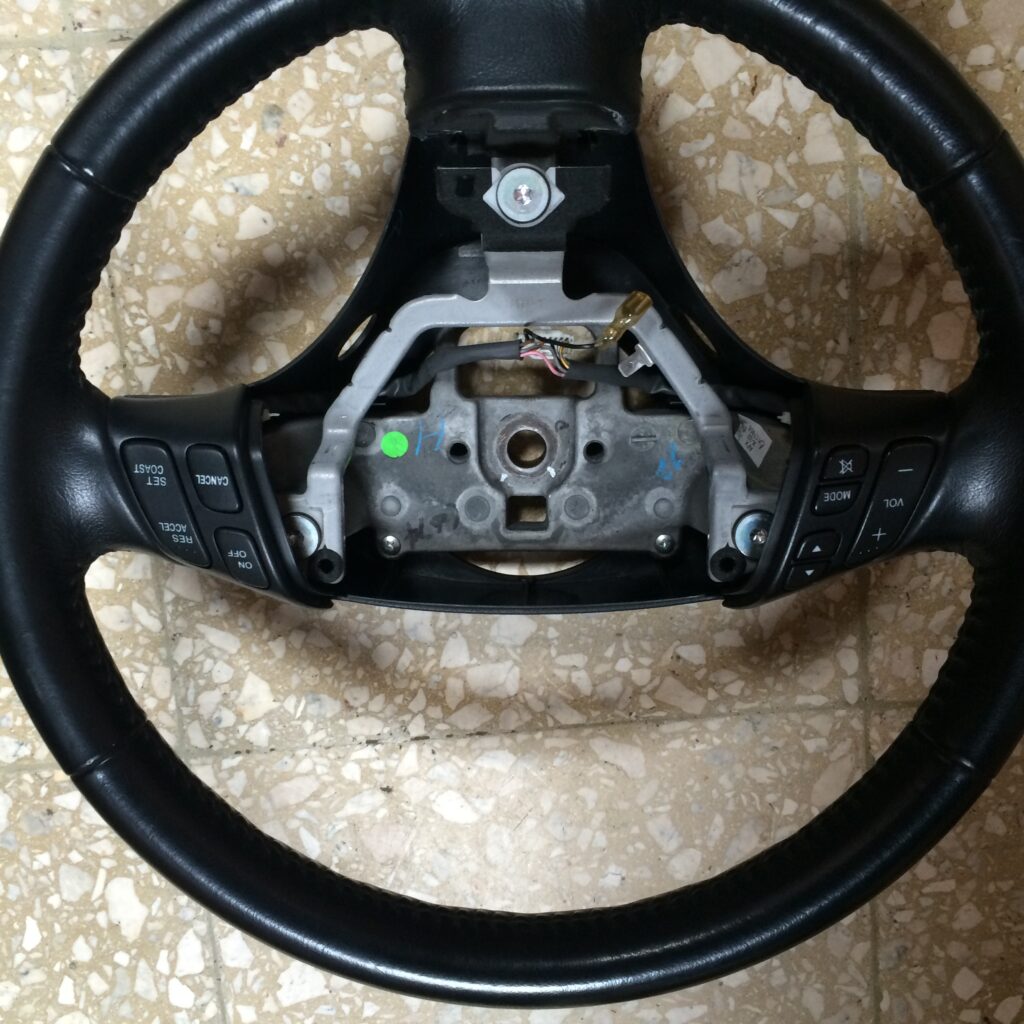
Once you added the new buttons, you have to put everything back the way it was. Notice the difference, we got cruise control buttons now!
Now onto the brake switch, this part is the hardest one. You have to remove the existing brake switch, and replace it with the new one. But in order to do this, you have to change the noise filter as well. You can do this easily if you find a replacement (junkyard, used), but if you can’t, you can modify the existing noise filter cable to include the missing cables and connectors, that is what I did.
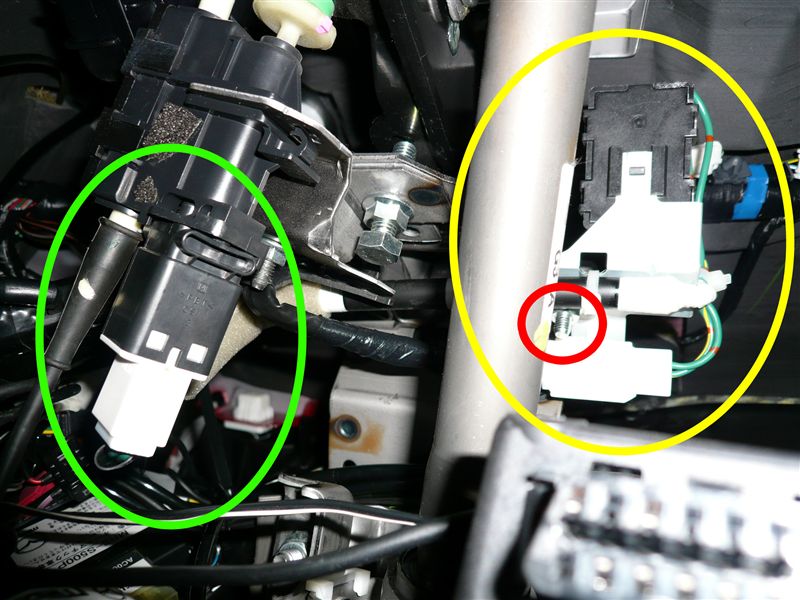
The following image details the location of the brake switch and the noise filter, they are close to your break pedal, in green you can see the existing brake switch, circled on yellow you will see the noise filter.
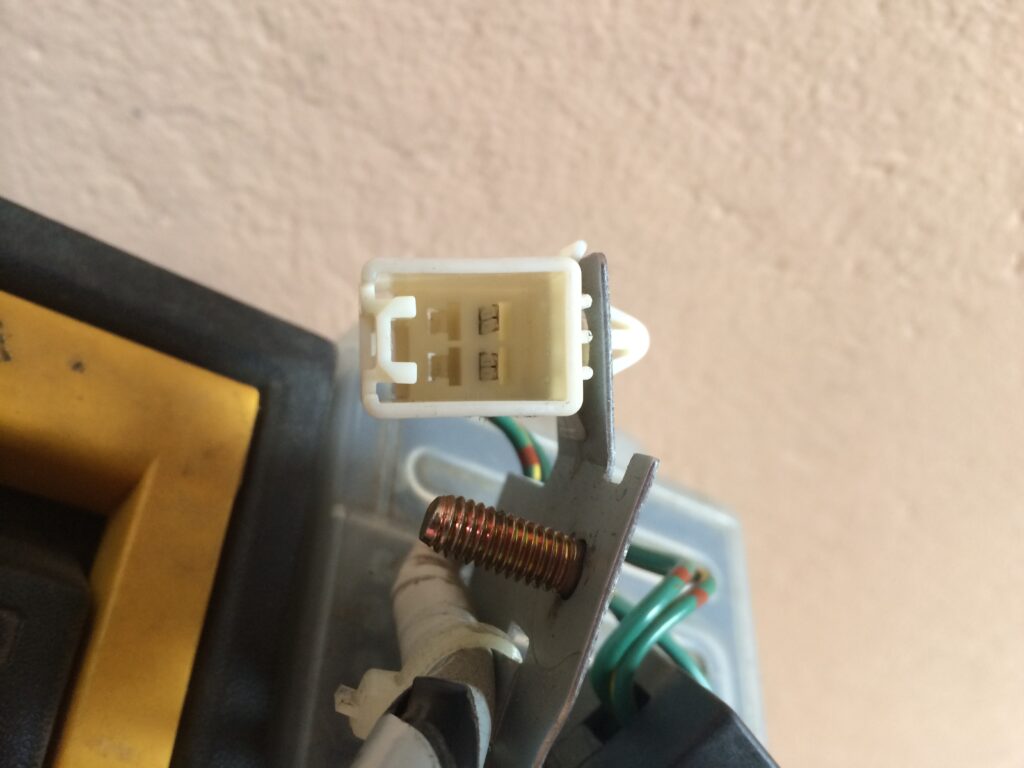
The noise filter comes with two connectors, with 2 pins inside in each one, your goal is to increment the pins to 4 on each side.
In the following image you will see there are only 2 pins, and empty slots for the other missing two.
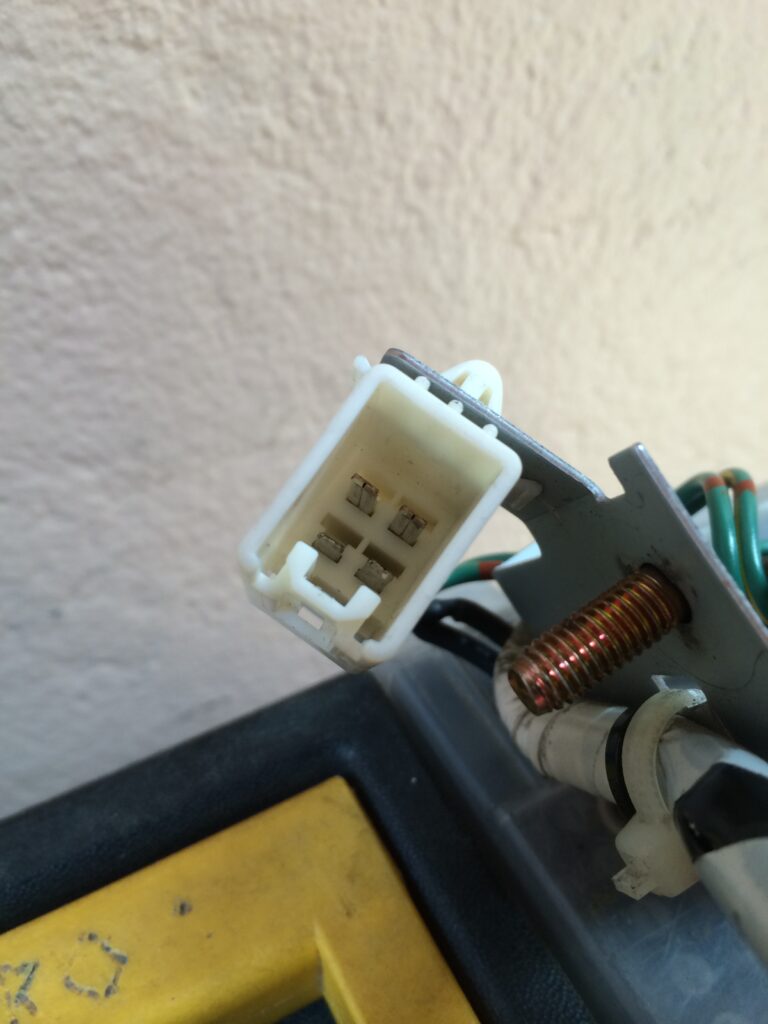
After adding the pins you will have the four required pins. For these pins I used a leftover fog light connector that came with some HID lights I bought at amazon, they turned out to be an exact match!
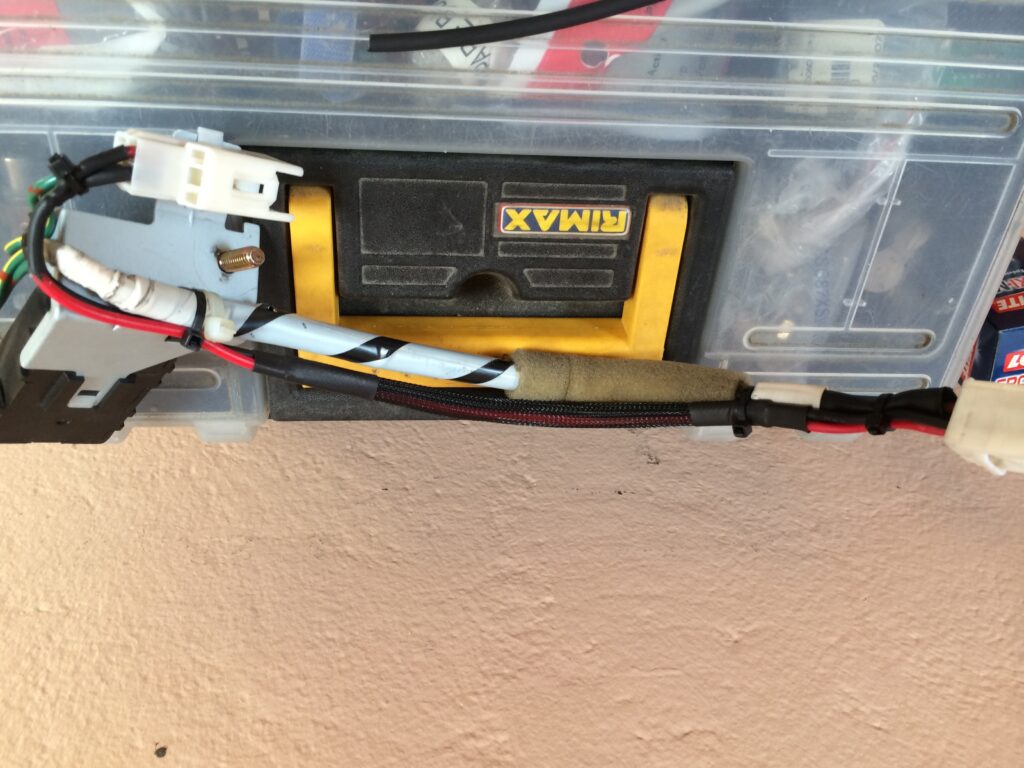
As you can see here, I zip tied the new cable (red/black) into the existing noise filter cable (white/black), with this modification you can now tell the ECU that you have a way to cancel cruise control. Also if you don’t have this switch, cruise control will not work, it is a requirement for cruise control.
Put the noise filter back in place, remove existing switch (you do this by turning the switch 90 degrees counter clockwise) and put the new switch in, then connect everything up. Just make sure to connect the brake switch connector LAST, if you don’t do this, you risk wasting your brake switch, since it will adjust itself as soon as you connect the white connector to it. ( it has a tab inside the connector that gets pushed in when you connect the noise filter connector to it. So it must be in place before you do this.)
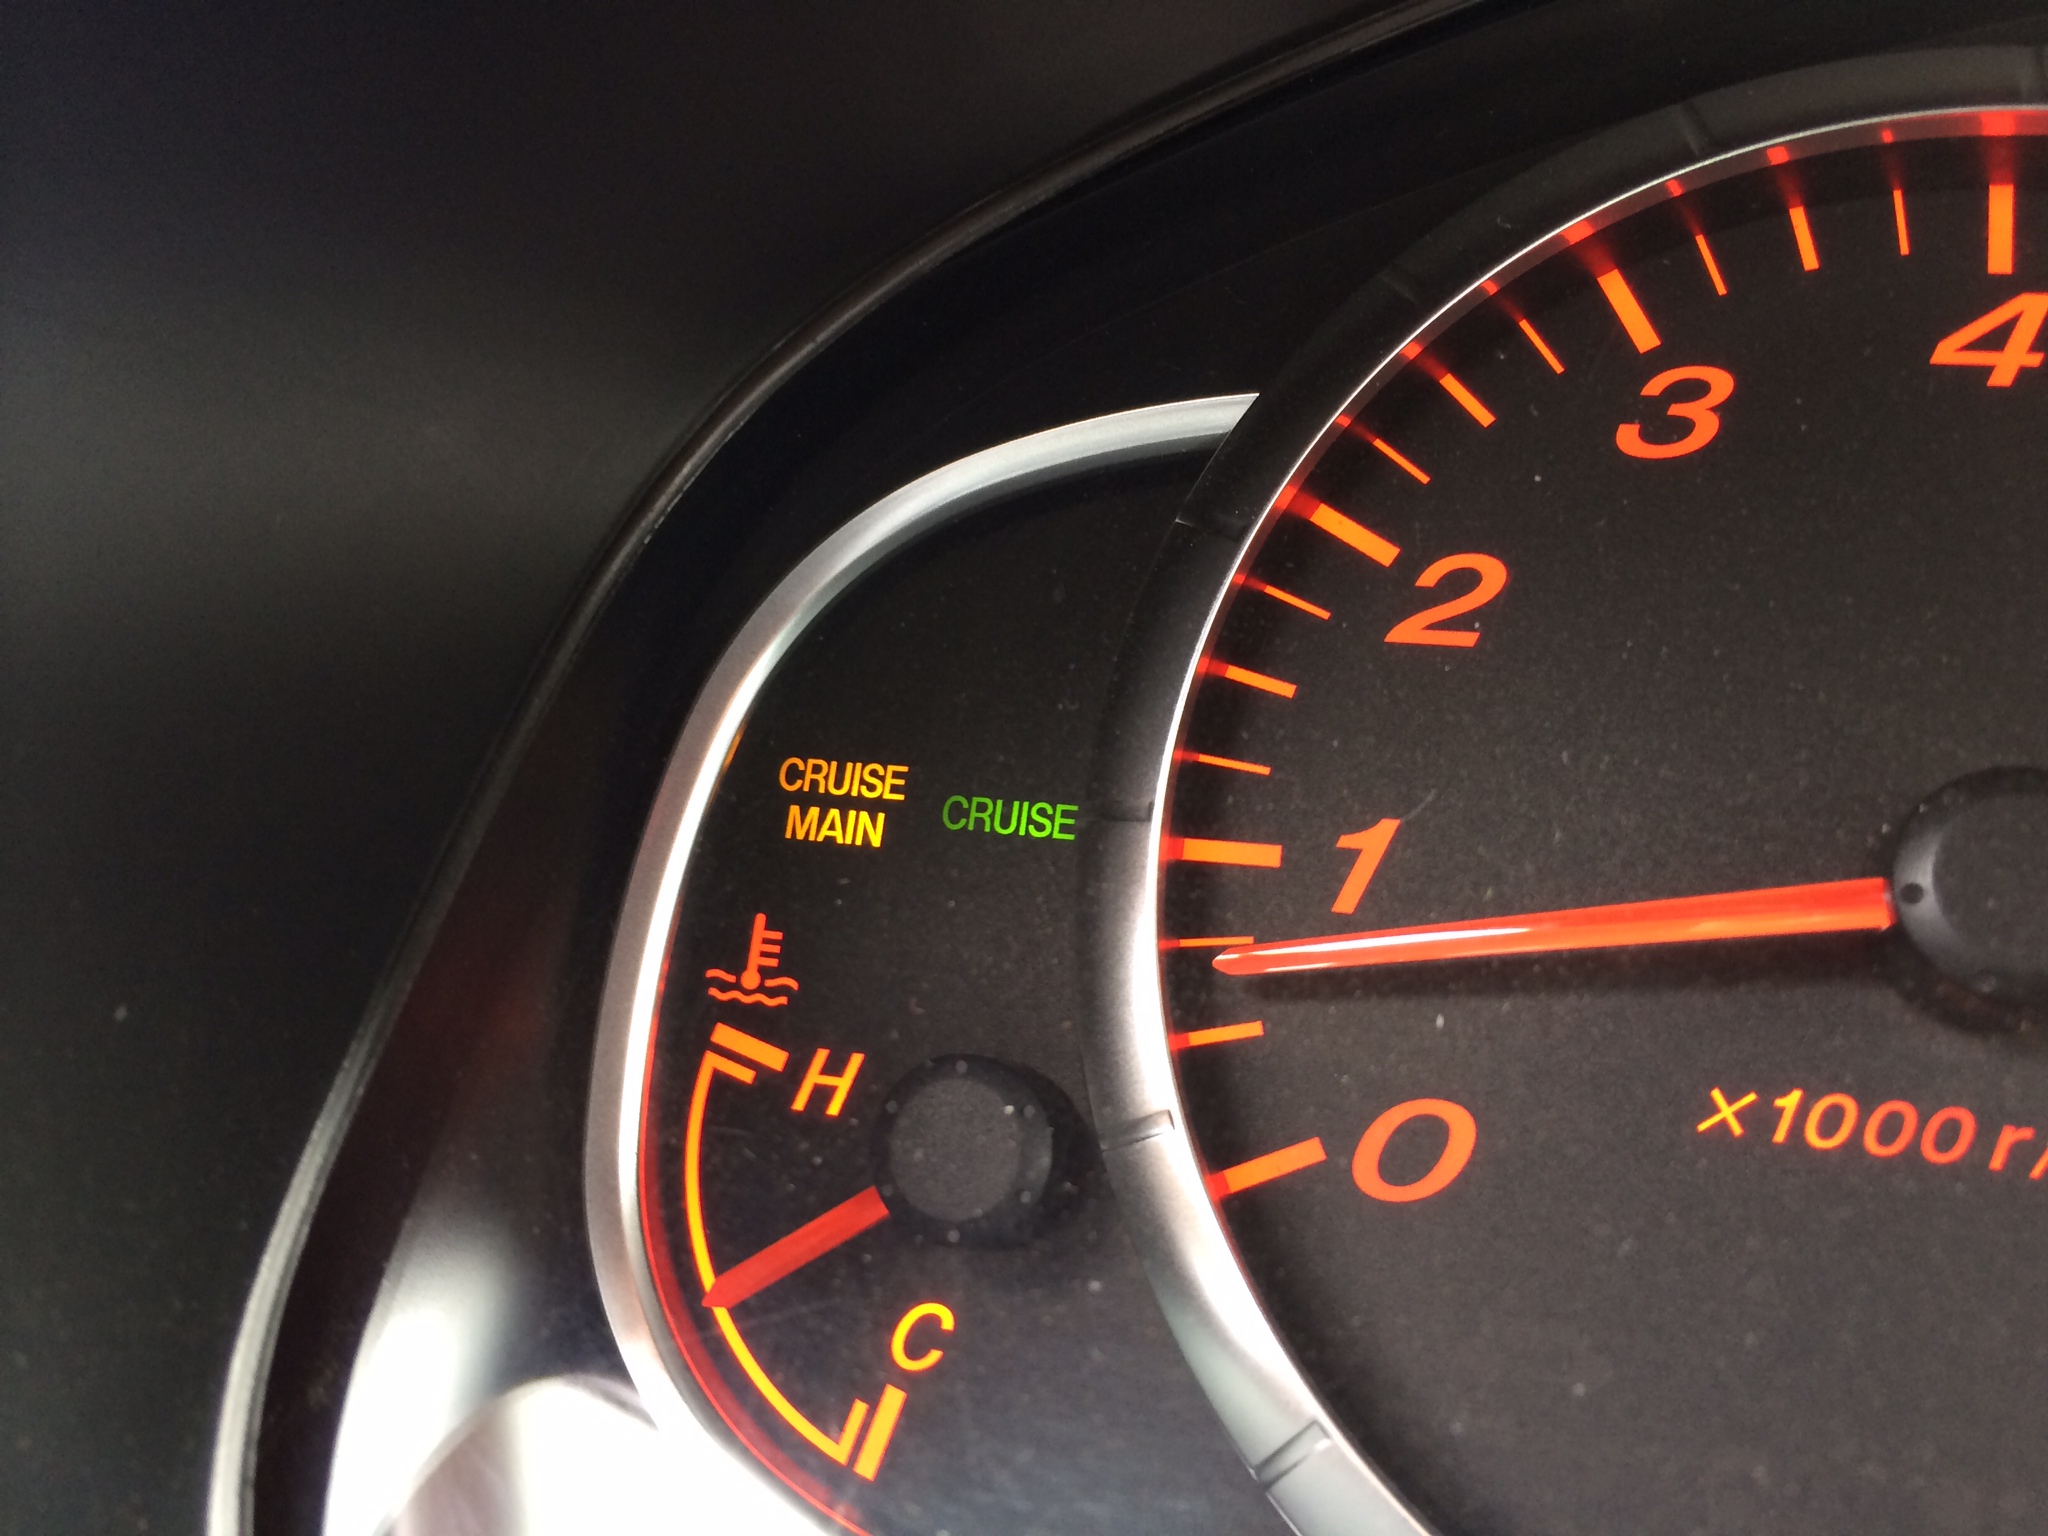
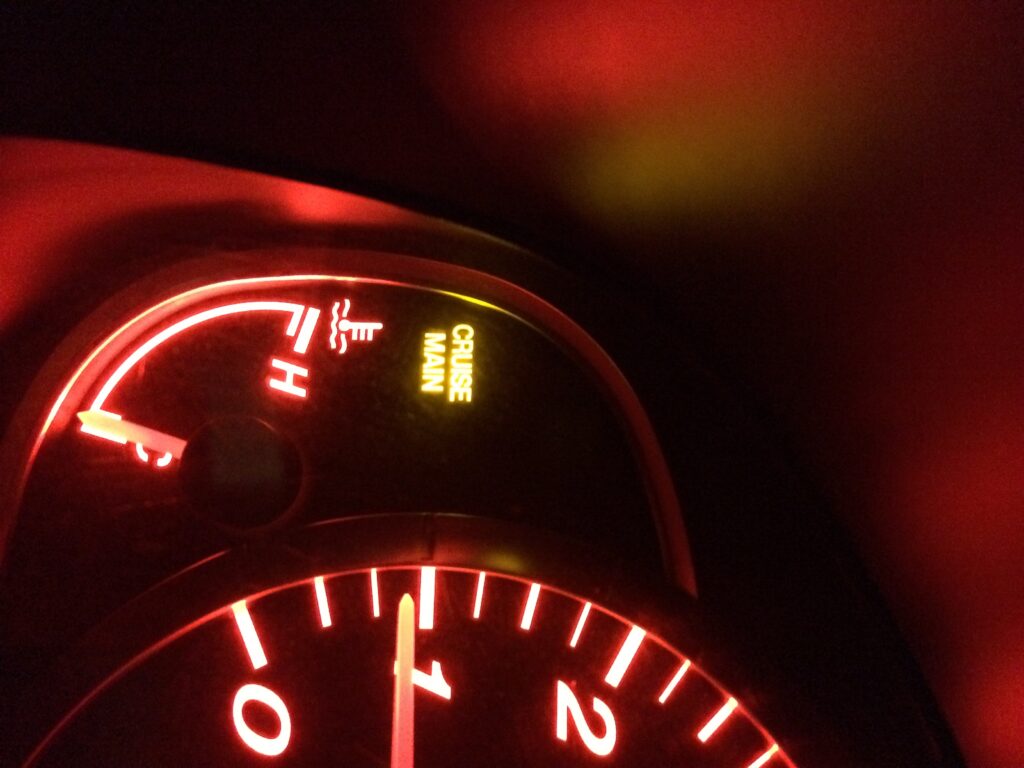
After everything is in place, you can turn your car on, and test the buttons! If you press the On/Off button you should see the CRUISE MAIN light up in your cluster.
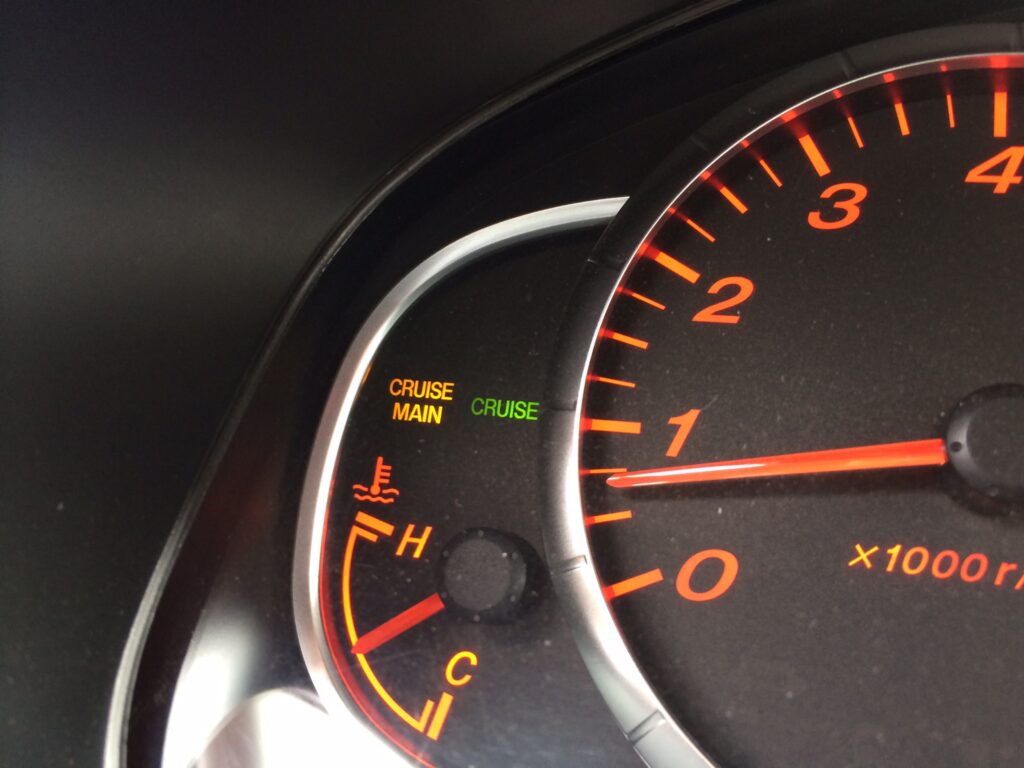
Test drive and feel the cruise power! If your CRUISE indicator turns on (GREEN) you are all set! In order to check if your brake switch is working, tap the brakes once when in cruise, your CRUISE indicator should turn off and the cruise control will be canceled.
By simply installing buttons on the steering wheel, I’ve managed to equip my car with cruise control, a feature that would have cost me $1500 at the dealership. It’s clear that car manufacturers charge a premium.
Indeed, knowledge is power, and in this instance, it’s also a money-saver.
Leave a Reply