All right, let’s continue with the iPod repairs. (If you missed Part 1, you can read it here.)
iPod Nano 6th Generation — The Power Button of Doing #
The next iPod I worked on had a stuck power button, meaning it wouldn’t turn on or off unless external power was supplied. This is actually a very common issue with these models — the culprit is a tiny plastic disc that wears out after regular use. Once it’s damaged, the metal button can no longer press the internal switch properly.
Fortunately, there’s an easy fix: open it up, replace the plastic disc, and give your iPod a second life. Save a device, save the planet.
Tools #
Same tools as in Part 1, with a few additions.
- #00 Phillips Screwdriver
- Plastic opening tools
- Plastic picks
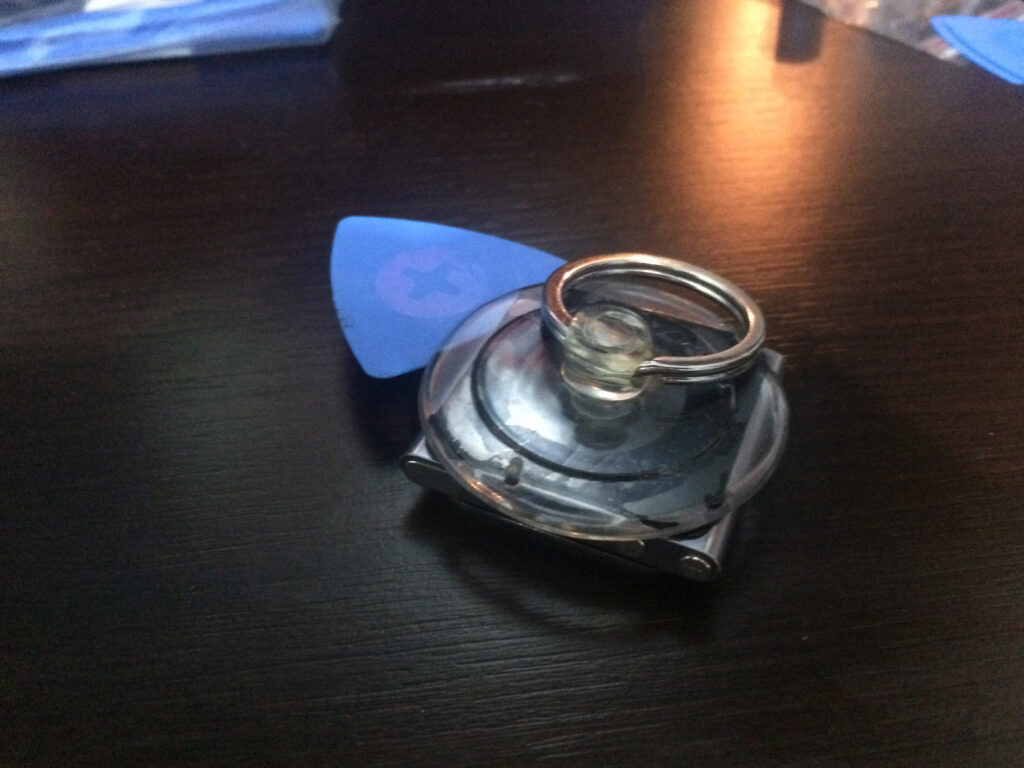
- Suction cup
- Heat gun
Steps #
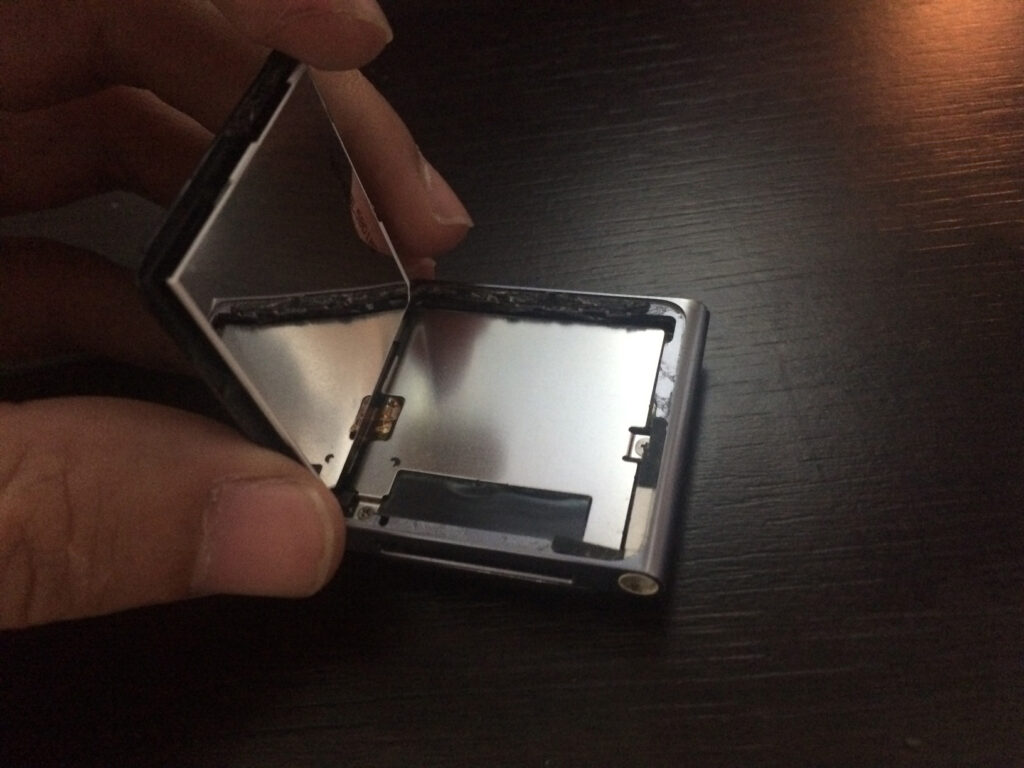
Following the excellent iFixit teardown guide, use the heat gun, plastic picks, and suction cup to carefully separate the iPod’s screen.
You’ll end up with something like this:
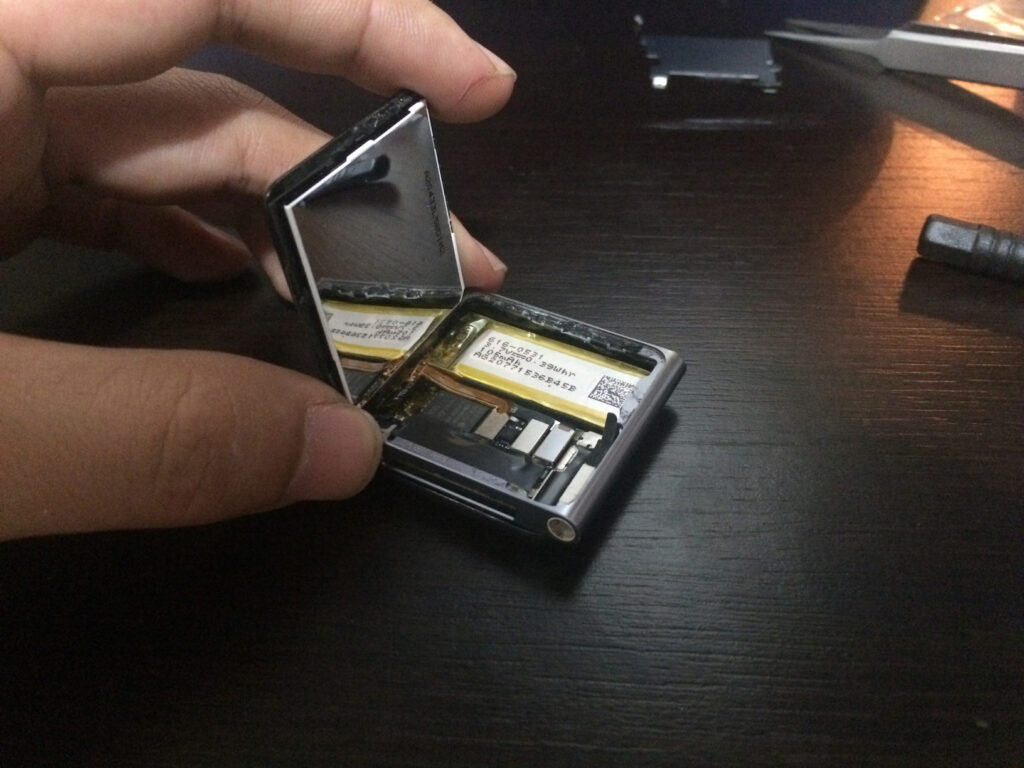
Use the screwdriver to remove the two screws holding the EMI shield, and you’ll see this:
Carefully unplug the two connectors attaching the screen to the board.
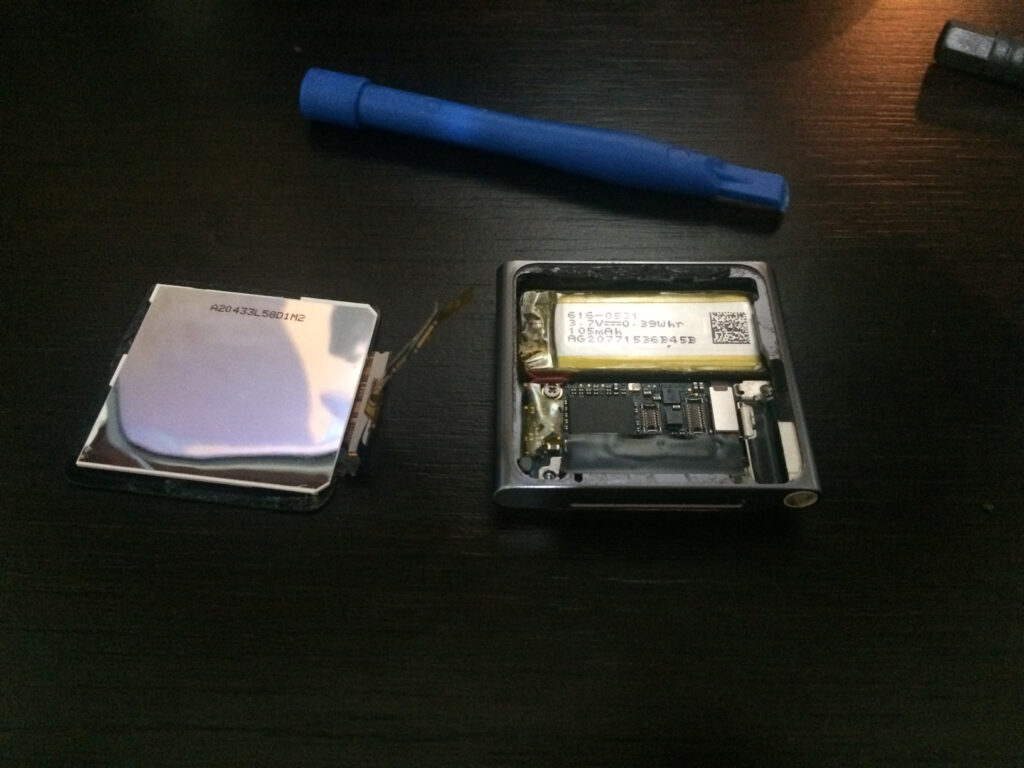
Next, remove the battery using your plastic opening tools:
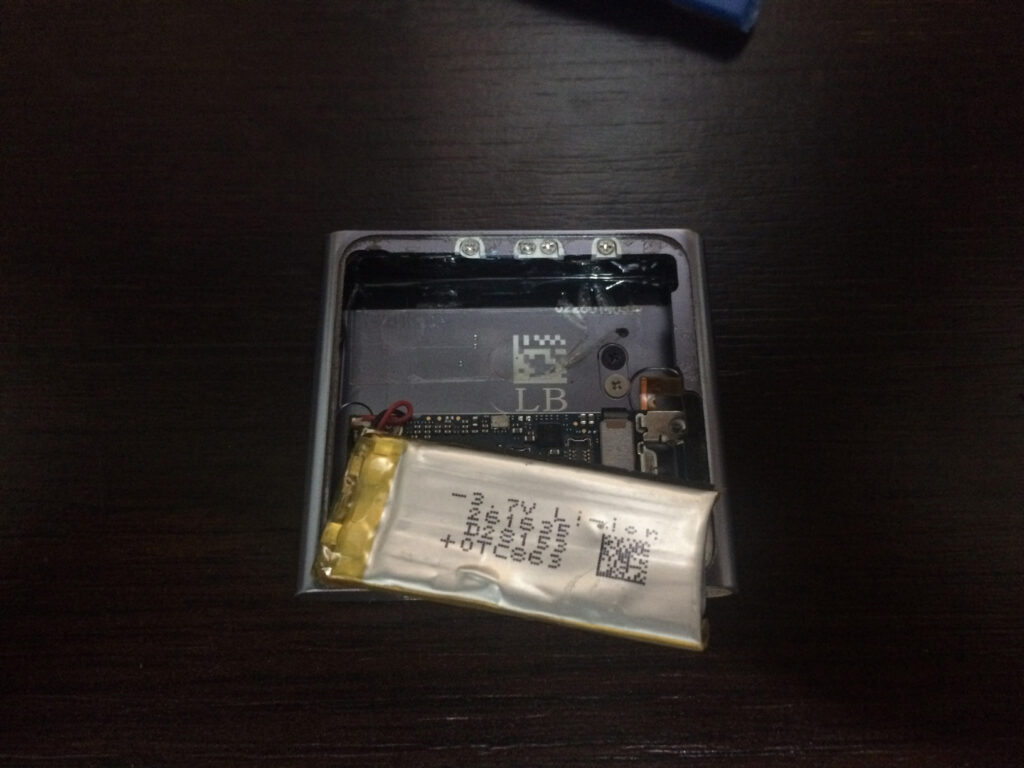
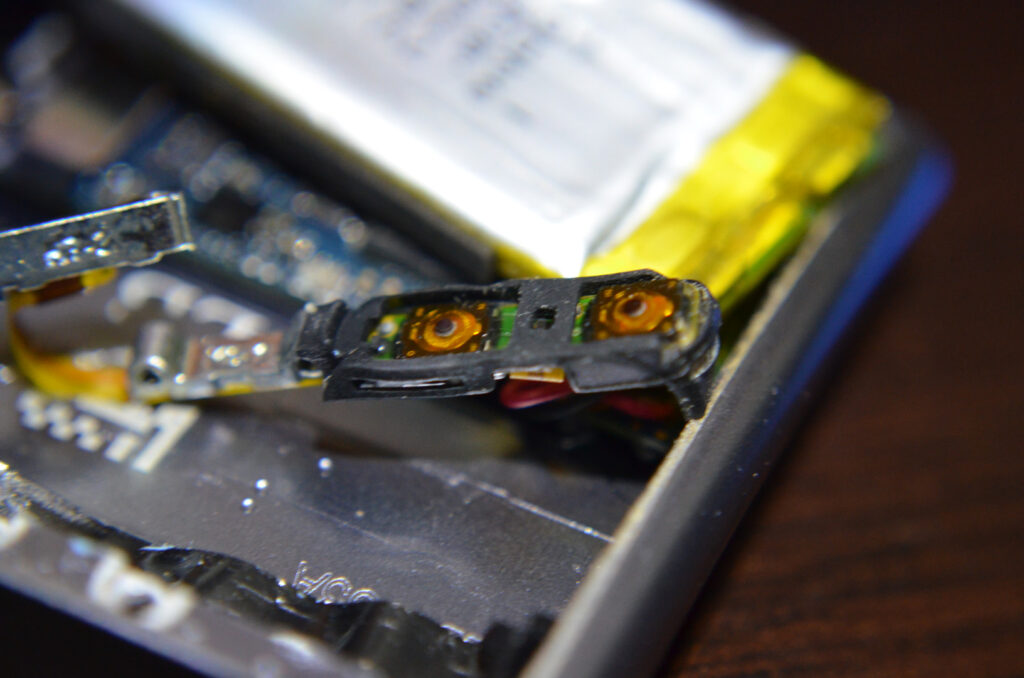
Remove the four screws holding the button assembly in place.
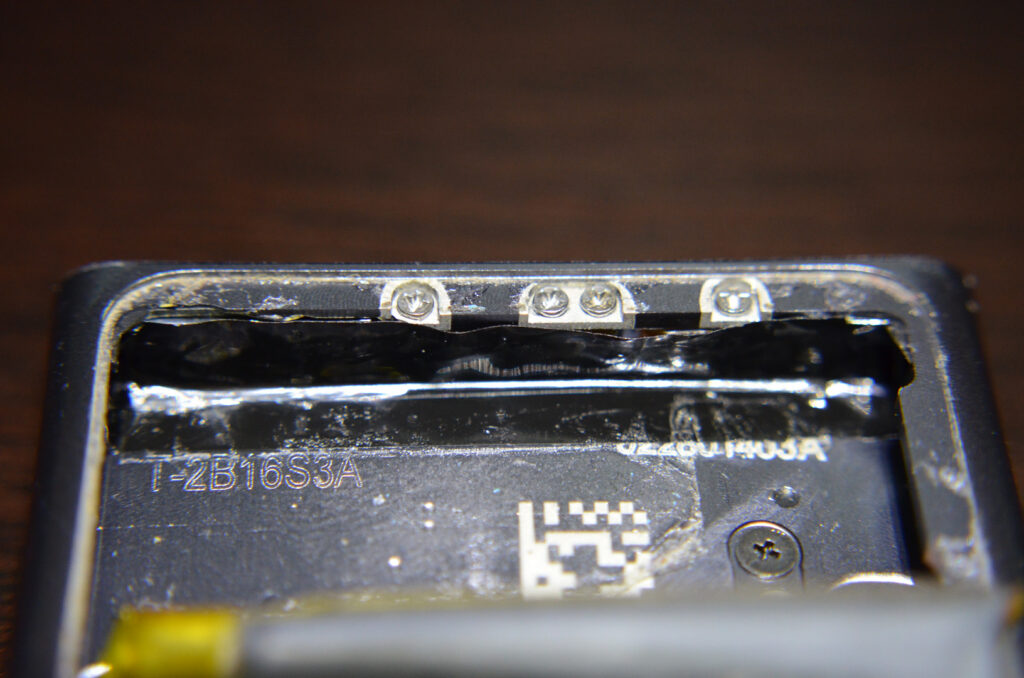
Carefully lift the black tape — just move it aside, don’t remove it completely.
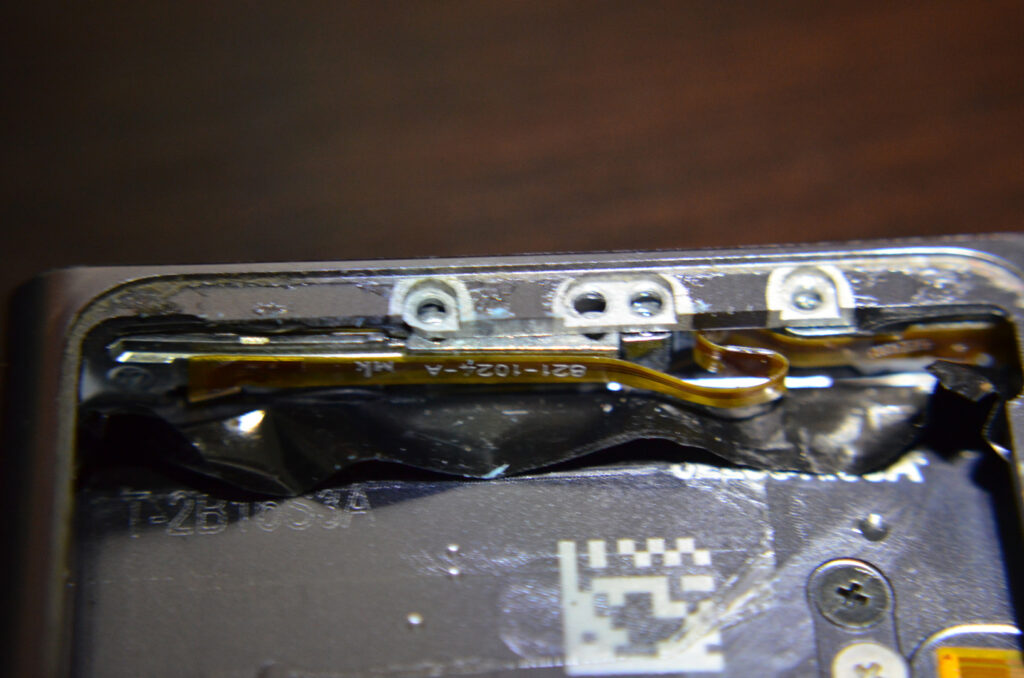
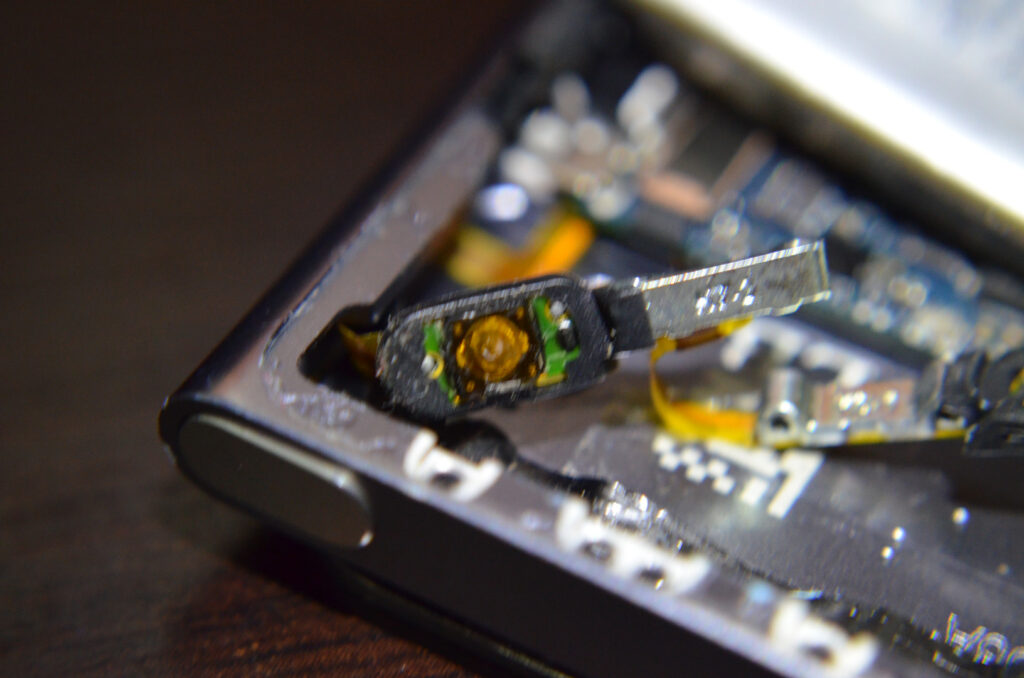
This reveals the button assembly. Carefully take it out. Notice how the power button is missing a tiny 0.2 mm black disc — that’s the “pusher” that transfers force to the switch. You’ll still see these discs under the volume + and – buttons.
Now, this is where things get interesting. We need a replacement for that missing disc. If yours simply fell off and is still inside the case — lucky you, just reattach it and you’re done!
In my case, it was completely gone, so… time to improvise.
Enter your friend, the hot glue gun!
I first tried creating a small disc of hot glue to replace it, like this:
Unfortunately, that didn’t work.
The original discs are made of hard plastic, which efficiently transfers force from the metal button to the push switch. Hot glue, on the other hand, is too soft — it absorbs most of the pressure and doesn’t activate the button properly.
So my next idea was to add something hard on top, using glue only to keep it in place. And that turned out to be the winning approach.
Enter your next friend: solder residue.

If you solder often, you’ll know these little shavings appear when cleaning your iron. I opened my soldering iron cleaner (the one with the brass mesh) and found plenty of them. Pro tip: pick the smallest piece you can find.
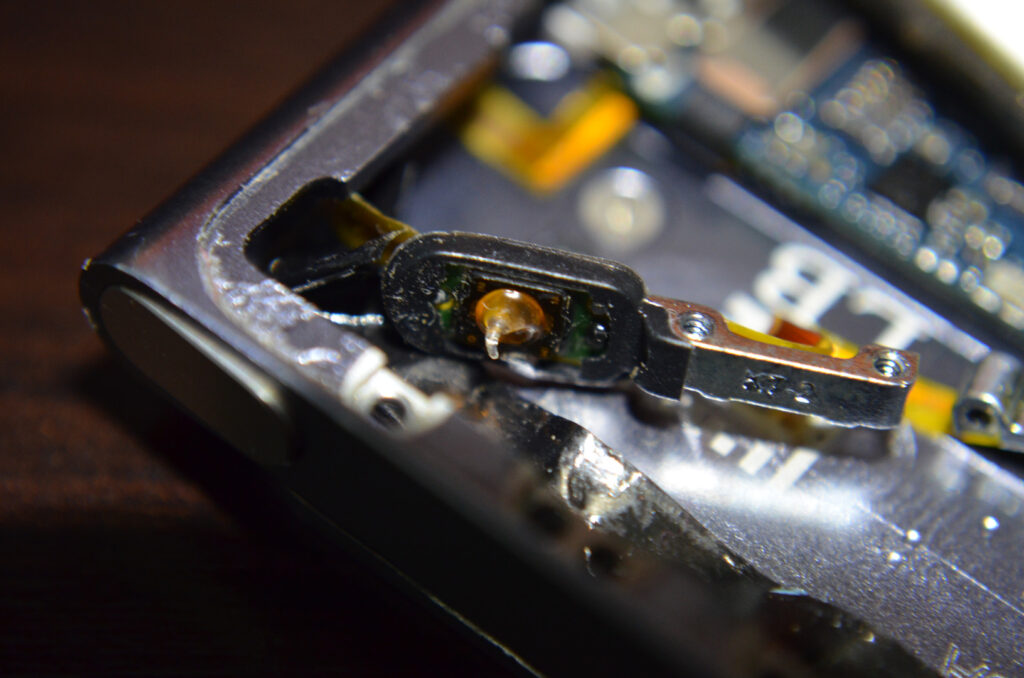
I glued a tiny piece onto the button using hot glue, like this:
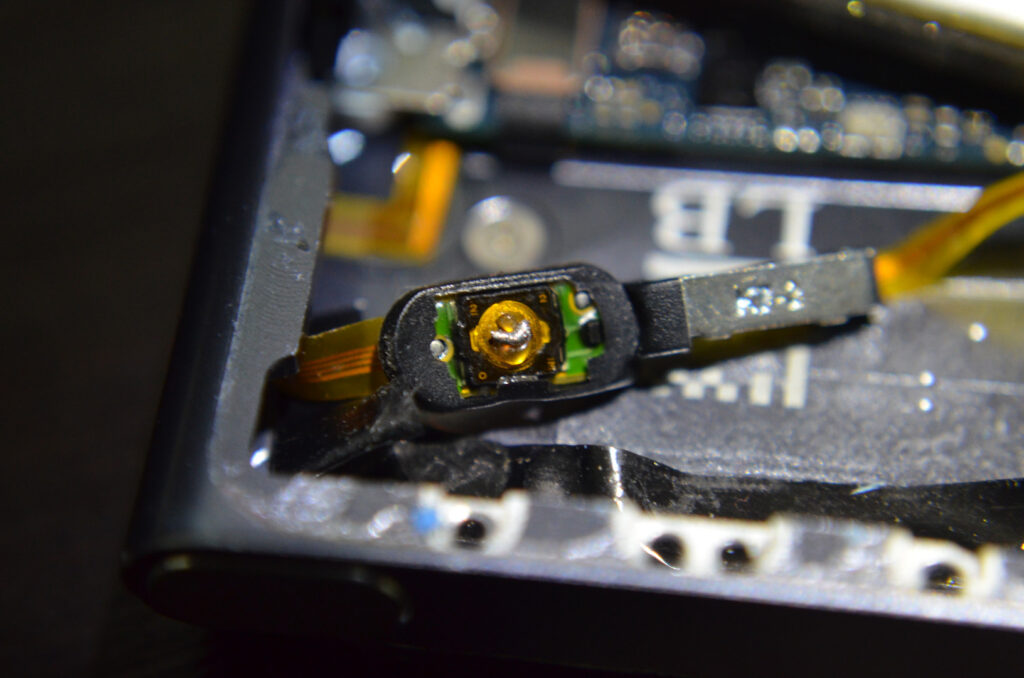
And that was it!
It took me four tries to get it just right — each time trimming the solder piece smaller until it clicked perfectly.
Once done, I reassembled everything: screws back in, tape in place, battery reconnected… you know the drill.
And that’s it — the iPod power button works again! 😊
I hope this guide helps you repair your own devices. Don’t throw away your old gadgets — many can be fixed with a bit of patience and creativity. Give them another chance to shine.
’Til next time!
Discover more from The Maker Shed
Subscribe to get the latest posts sent to your email.
Attemped screen repair on Galaxy S3, burned digitizer 🙁 Where is the master when you need him.
Thanks for posting this! I’m going to try it tonight.